How to Set Up Your Marketplace Profile on Creative Designer Directory
Welcome to the Creative Designer Directory! We’re excited to have you join our community of talented creatives. Once you’ve joined, paid the vendor fee, and requested to become a seller, you’ll receive a confirmation email with a special link to access your Seller Dashboard. Here’s a quick step-by-step guide to help you set up your […]
Welcome to the Creative Designer Directory! We’re excited to have you join our community of talented creatives. Once you’ve joined, paid the vendor fee, and requested to become a seller, you’ll receive a confirmation email with a special link to access your Seller Dashboard.
Here’s a quick step-by-step guide to help you set up your seller profile and get started:
1. Open Your Seller Dashboard
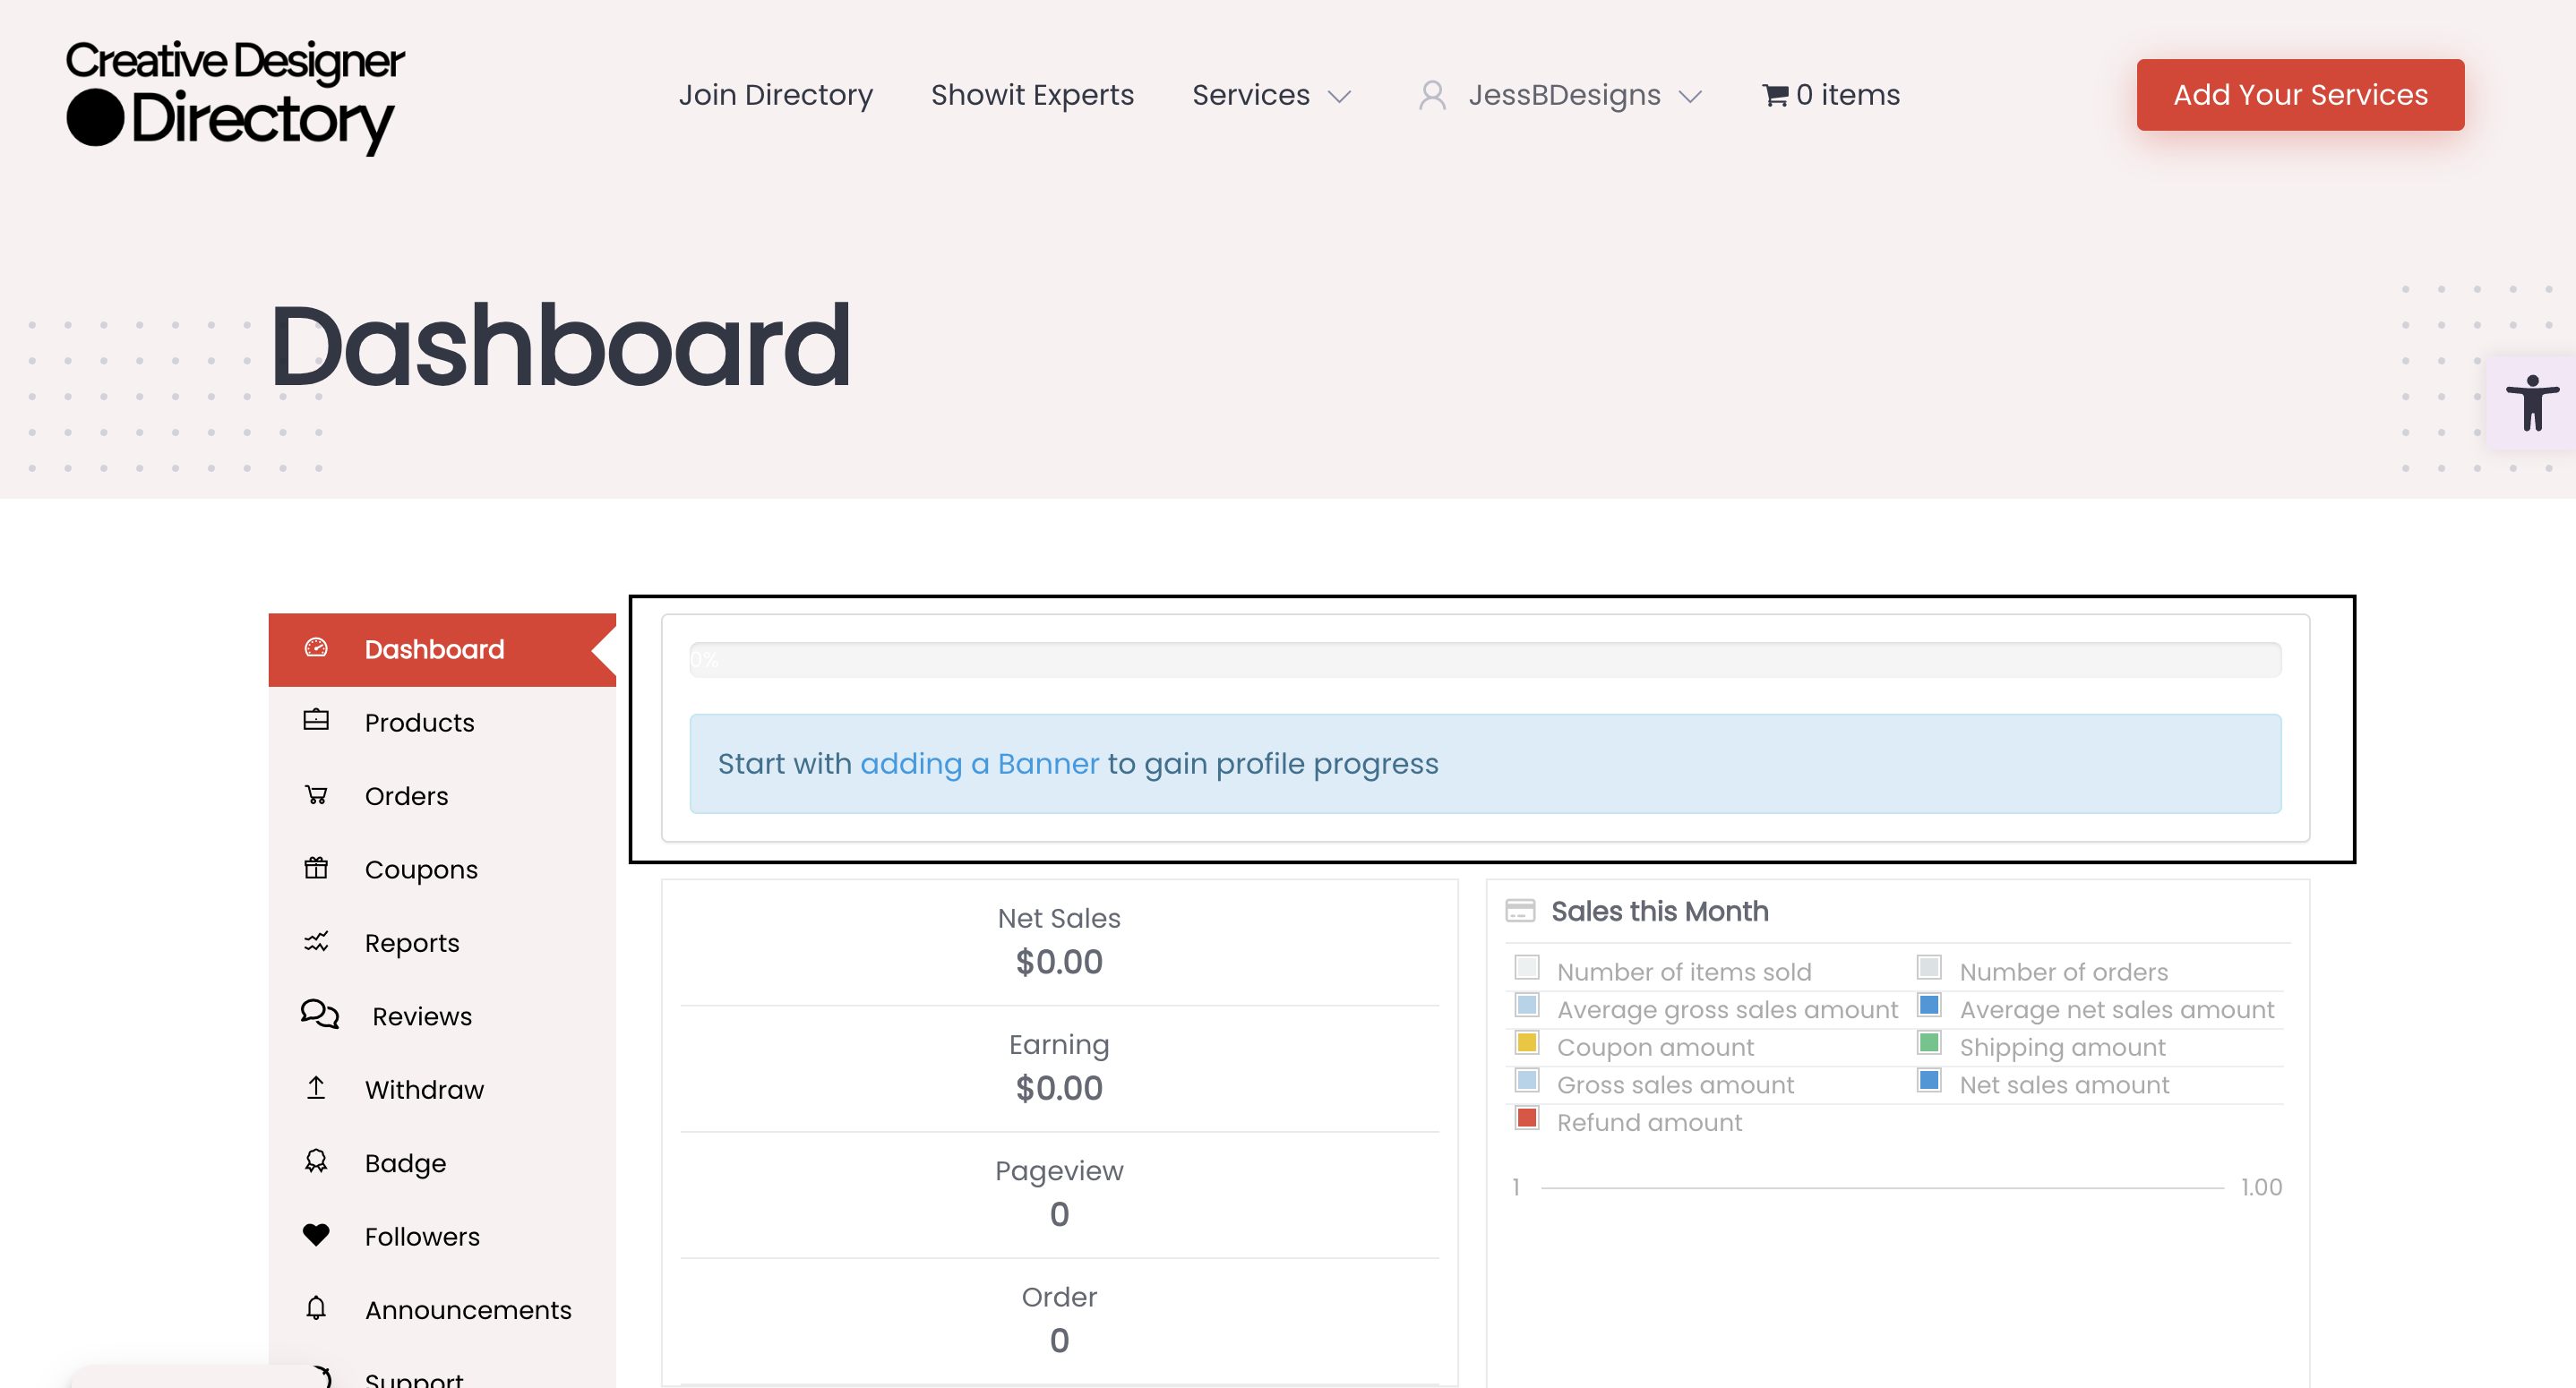
Click the link in your welcome email to access your dashboard. This is your central hub where you’ll manage your profile, products, and payouts.
2. Upload Your Banner
At the very top of your dashboard, you’ll see a prompt that says “Start with adding a banner to gain profile progress.”
- Click the “Upload Banner” button.
- Recommended banner size: 625 pixels wide by 300 pixels tall.
- Choose a high-quality image that reflects your brand or creative style.
3. Add a Profile Photo
Upload a clear, professional photo of yourself (or your logo if you prefer). This helps customers connect with you and builds trust.
4. Fill Out Your Profile Details
Here you can share more about who you are and what you offer:
- Country – This is required to help us connect you with the right audience.
- Bank Details – If you’d like to receive payouts via bank transfer, be sure to enter your banking information.
- Biography – Add a short bio to introduce yourself and your design style. This is optional, but highly recommended!
5. Save Your Profile
Once all your information is in, don’t forget to click “Save” to make sure your profile is updated.